Create A Linux Web Server Environment Sandbox In VirtualBox

When doing web development, having a test server to implement new code or make changes to server configurations, or even making any changes is vital. Virtualbox is a great way to emulate a production environment and allows for experimentation that would not be recommended to perform on a live production server.
Snapshots
The best part about using VirtualBox is the ability to use the snapshots feature. With this feature, you can quickly go back to a previous system state, allowing you to undo whatever chaos you caused. It is important to create snapshots frequently. Think of this feature as a save button for your entire server, everything will be saved.
Bridged and Host-Only Adapter
VirtualBox also has various network configurations for the VM that allows you to create network designs virtually. The Host-Only Adapter is basically a virtual router and switch that allows you to network multiple VM’s together. This adapter only allows outside communication from the PC that is running the virtual machines. The Bridged Adapter allows you to use your own local network. For example, with the bridged adapter you can use your home router to facilitate the communication between the virtual machines and all hosts on the local network. The bridged adapter will work on any network the PC is connected to that is running the virual machines.
Additional Info
This tutorial will cover setting up a Ununtu Server VM, and will be using the Bridged Adapter in network settings to allow any host on the network to SSH into the virtual machine. This tutorial assumes that you already have VirtualBox installed on your machine. If not, head on over to the link listed below and install VirtualBox before proceeding:
https://www.virtualbox.org/wiki/Downloads
One more thing to keep in mind before we begin. This tutorial is intended only for staging environments to be used on a private network and will not be secure for online production.
Instructions
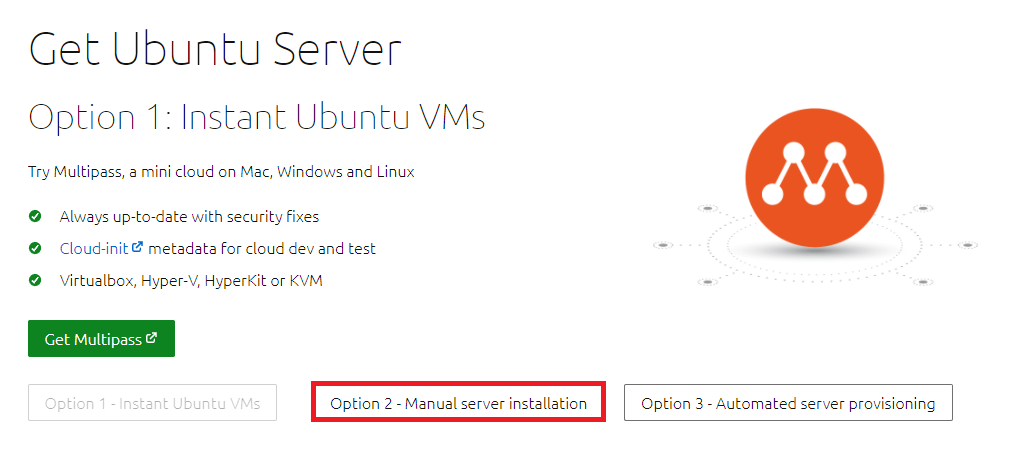
- Go to https://ubuntu.com/download/server
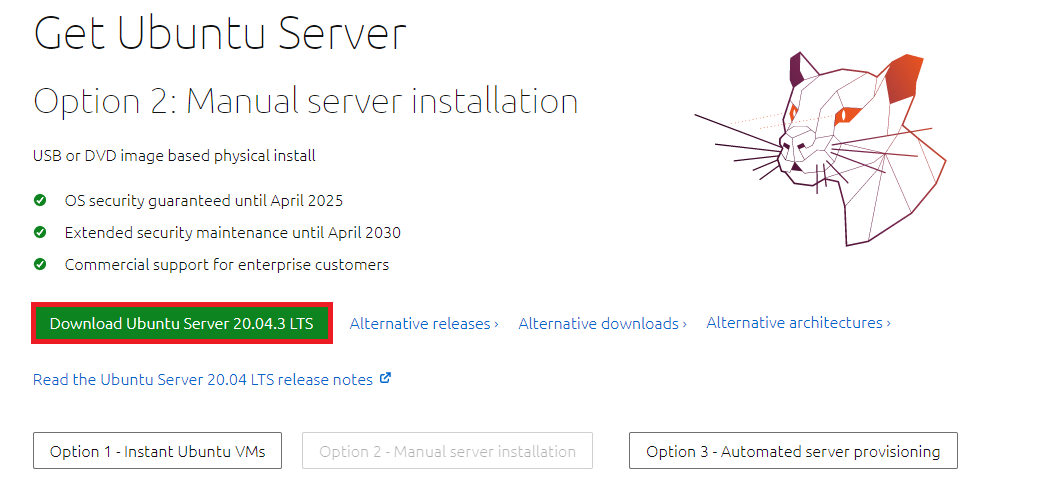
- Click Option 2:
- Click download button:
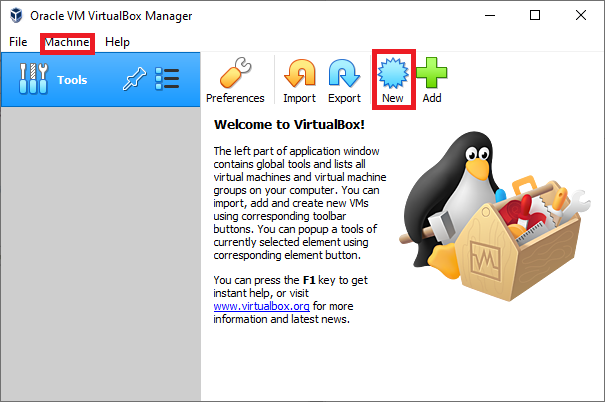
- Open VirtualBox and add a new machine:
- In the dialogue that pops up:
- Name: Choose a name for your server. Example: Ubuntu Server -or- Web Server 1
- Machine Folder: Choose a path to your VM installation (You can use the default location, but you can also choose to save your VM elsewhere.)
- Type: Linux
- Version: Ubuntu (64-bit)
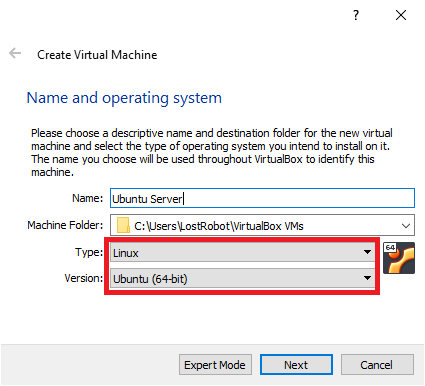
- Click Next
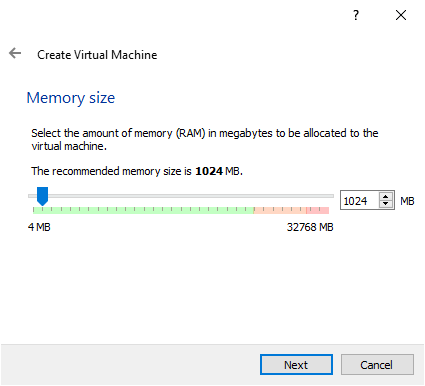
- On the Memory Size section, the memory size can be set anywhere in the green. Keep in mind, if you plan on setting up multiple servers, make sure you set the amount in accordance to available RAM of the host machine and all the VM’s that will be running at the same time. In this tutorial we will use the default of 1024MB which is more than sufficient for running this web server.
- Click Next
- On the Hard Disk section, ensure the default setting is “Create a virtual hard disk now”.
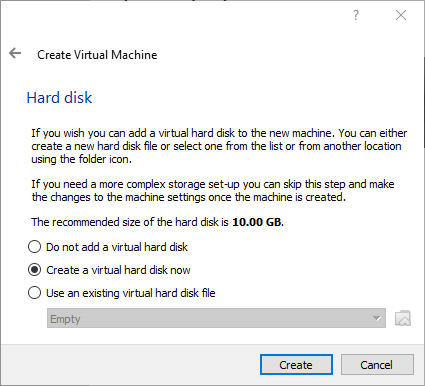
- Click Create
- On the Hard disk file type section, ensure the default setting is “VDI (VirtualBox Disk Image)”.
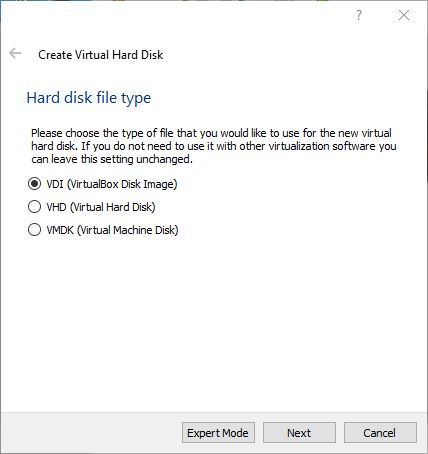
- Click Next
- On the Storage on physical hard disk section, ensure the default setting is “Dynamically Allocated”. You can also choose “Fixed size”, just keep in mind that the fixed size option fully reserves the space allocated and will take up more space on your drive.
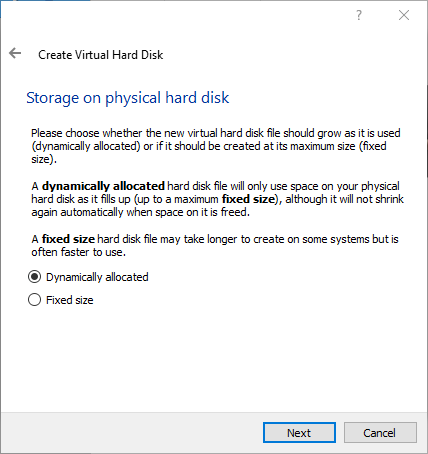
- Click Next
- On the File location and size, you can choose how much disk space you want the VM to have, the default is 10GB, which is the setting that will be used for this tutorial and is the recommended minimim setting for Ubuntu Server. (If you think you will use more than 10GB of space, increase this option to your desired size.)
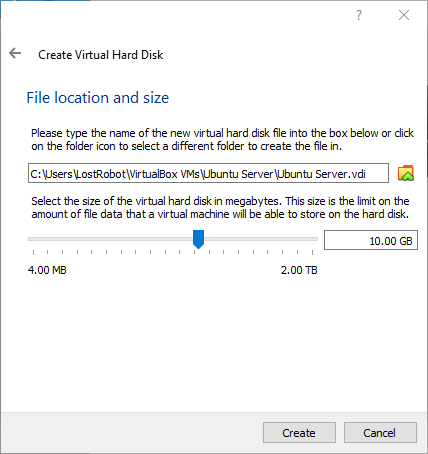
- Click Create
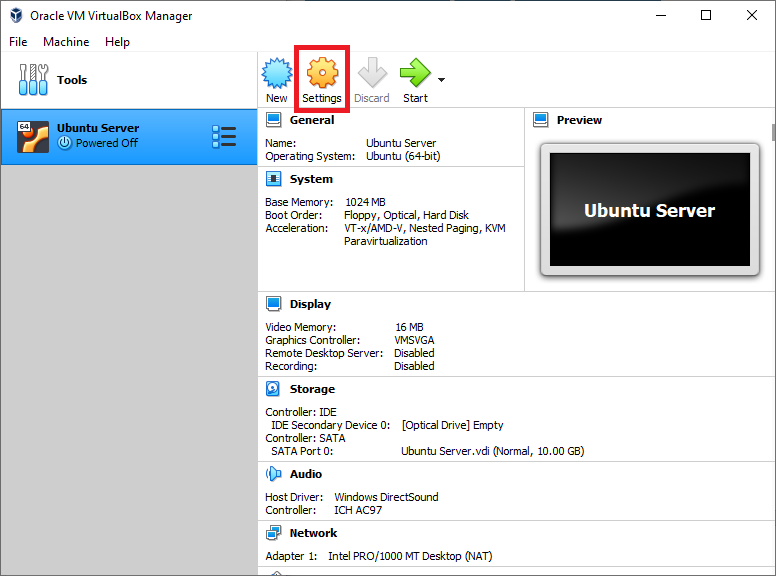
- You will now see “Your Server” has been created.
- Next, click Settings
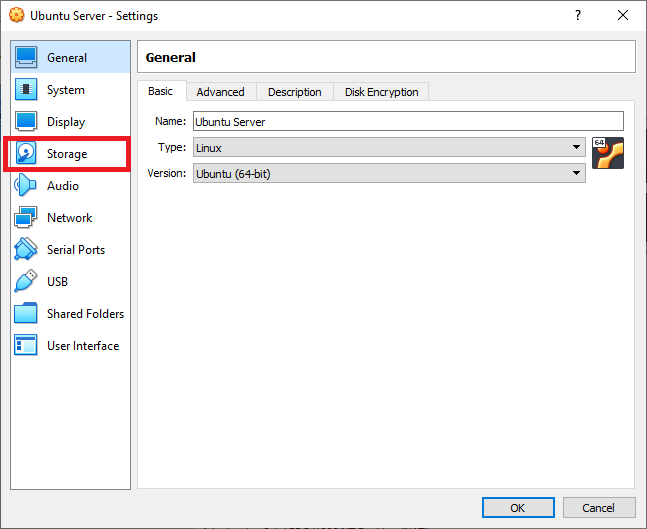
- Click Storage
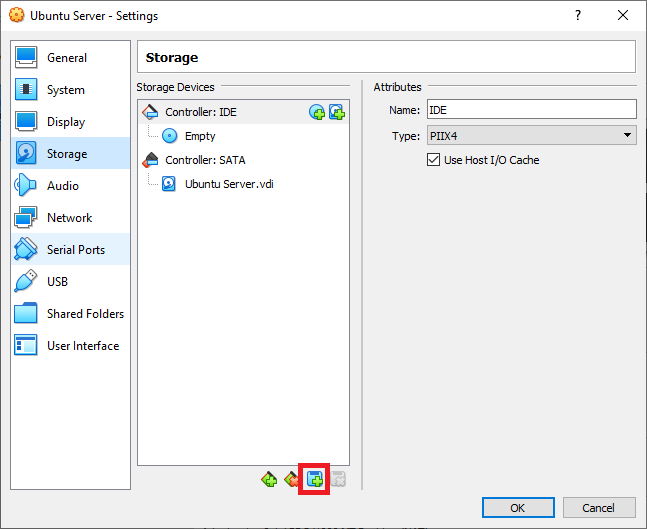
- On Storage Settings, click the “New storage attachment” icon. Then click Optical Drive
- On the Optical Disk Selector, click Add
- Navigate to the Ubuntu Server disk image that was downloaded earlier in this tutorial and click Open.
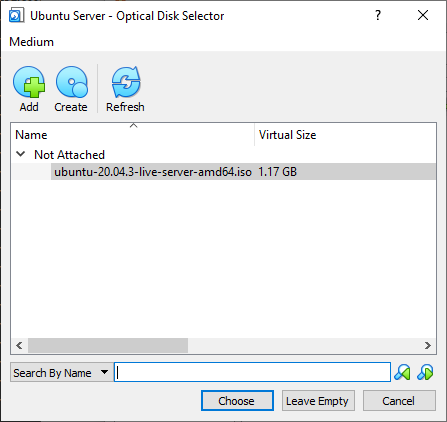
- Click Choose
- Click Network, change Attached to: NAT to Attached to: Bridged Adapter
- Click OK
- Click Start
- Allow some time for the VM to boot to the intall prompt.
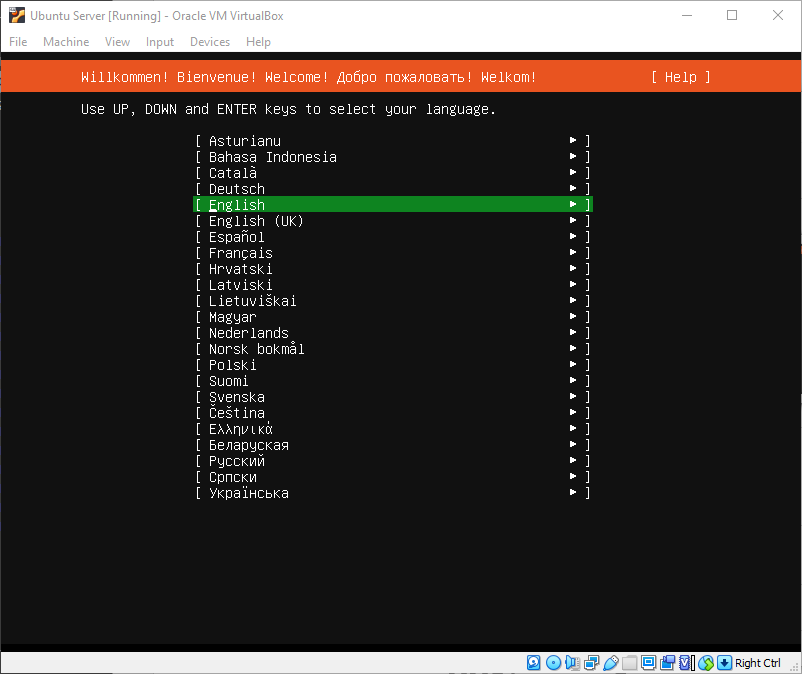
- press Enter
- Press UP, then press ENTER to use the updated installer.
- Press ENTER to use default keyboard configuration.
- Press ENTER to use default network connection.
- Press ENTER on Configure Proxy section
- Press ENTER on Configure Ubuntu Archive Mirror.
- On Guided Storage Configuration, leave “Use entire disk check”, press DOWN key until “Done” is highlighted and press ENTER.
- Press ENTER on the Storage Configuration section
- Press DOWN key to highlight “Continue” and press ENTER to proceed.
- On the Profile Setup menu, enter information. Use UP and DOWN keys to toggle text boxes.
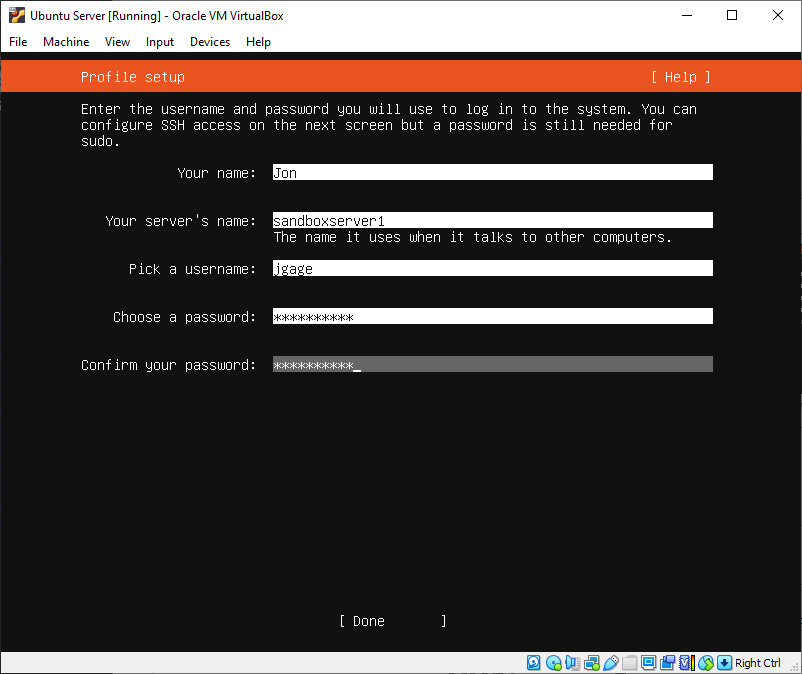
- After filling out all fields, press DOWN key until “Done” is highlighted, then press ENTER.
- On the SSH Setup, press ENTER to check “Install OPENSSH server”, then press DOWN key until “Done” is highlighted and Press ENTER (IMPORTANT: Don’t skip this step! We will be using the SSH server later in this tutorial!)
- On “Featured Server Snaps”, press DOWN key until “Done” is highlighted, then press ENTER
- Ubuntu Server will begin installation process. Please wait until the update is done. This can take several minutes!
- When the installation is finished, press DOWN until “Reboot Now” is highlighted, and press ENTER
- NOTE: you maysee “Failed unmounting /cdrom” several times. Just press ENTER and the VM will reboot.
- Once the machine boots and you stop seeing text being displayed, press ENTER
- Use the username you assigned as login (example: jgage), then press ENTER
- Use the password you assigned as password, then press ENTER
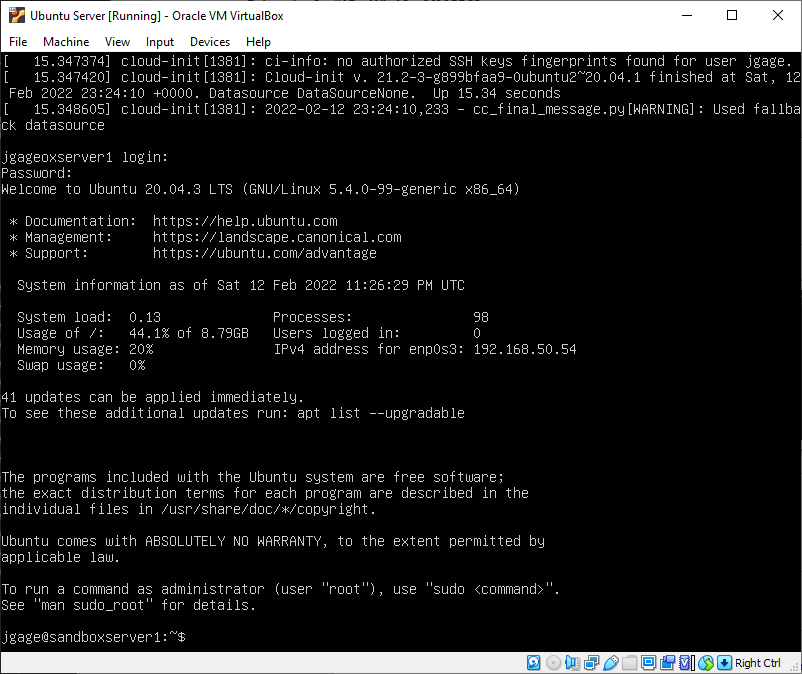
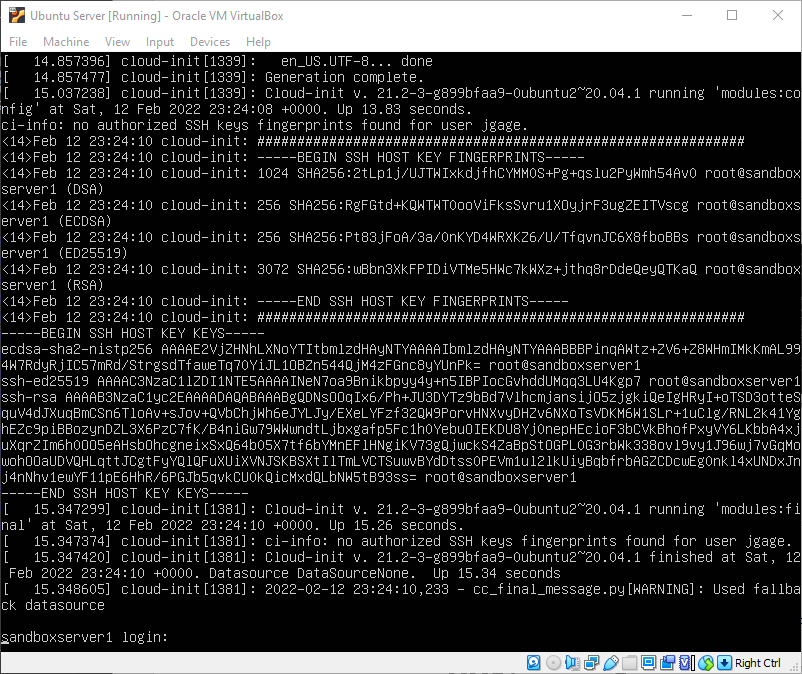
- If you see this screen at this point, then congrats! The Ubuntu Server is now installed. Now we need to enable root login via SSH.
- Enter these sequence of commands:
sudo su
"enter password"
passwd
"enter password again"
"confirm password again"- Now we need to enable root SSH access by changing a configuration script. We will use VIM to edit the file:
vi /etc/ssh/sshd_config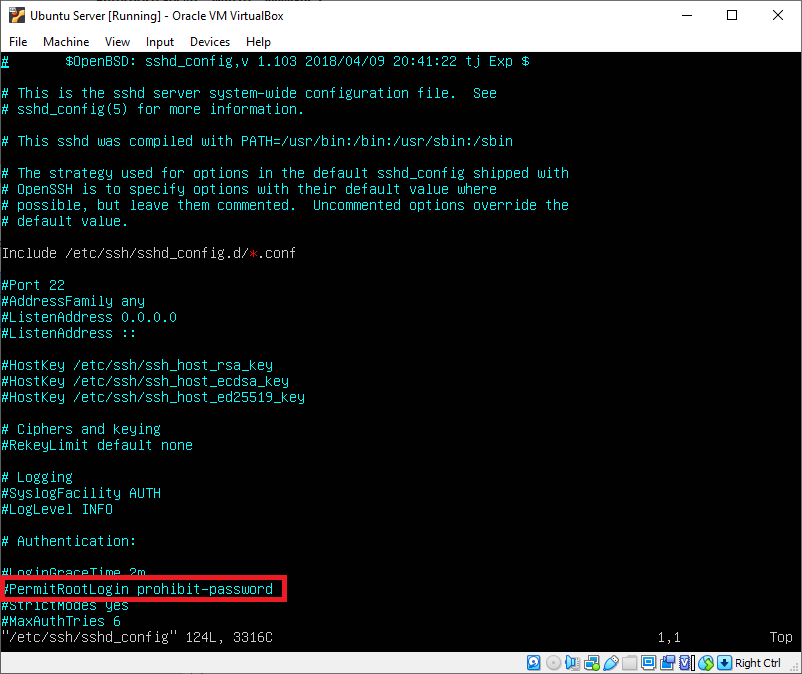
- Press DOWN key until you get to the line where is says “#PermitRootLogin prohibited-password”
- press “i” key to go into insert mode.
- Press DELETE to remove the “#” symbol, then press RIGHT ARROW key until you get to the end of the line.
- Press BACK SPACE key until “prohibited-password” is deleted, then type “yes”
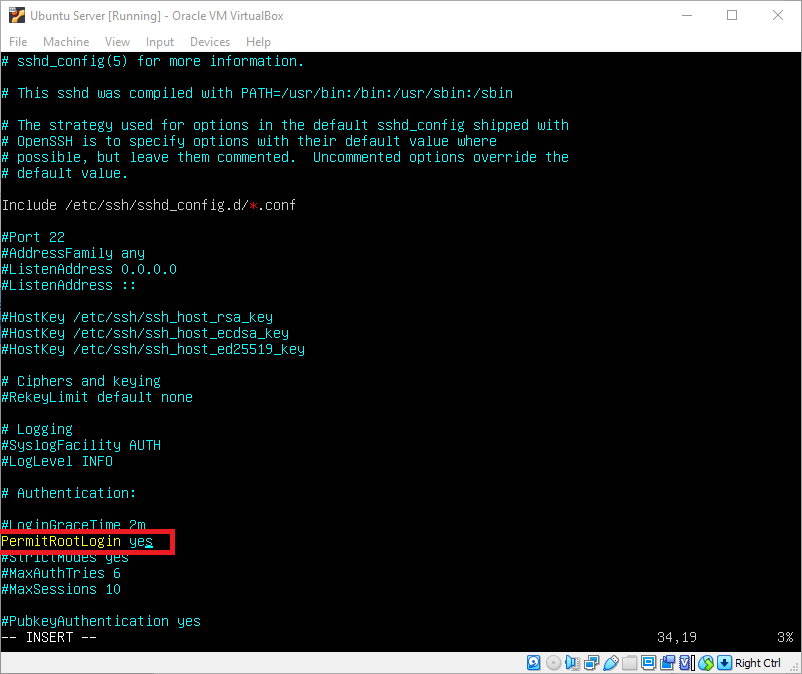
- Press ESC key to exit out of INSERT mode
- Press “:w”, then ENTER to save the file, then press “:q”, then ENTER to exit back to console.
- SSH service must be restarted for changes to take effect:
systemctl restart ssh- Now type “ip addr” and press ENTER to see the server IP address:
ip addr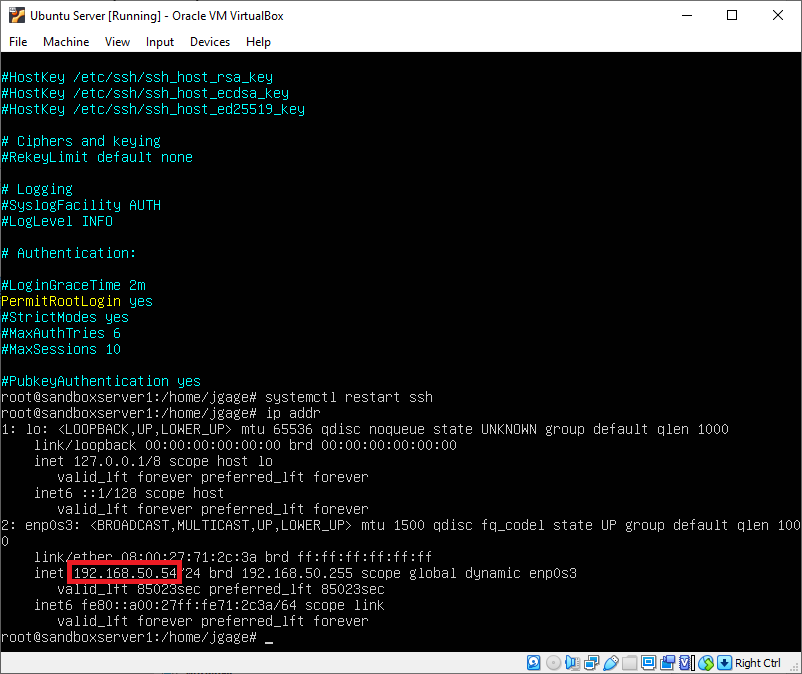
NOTE: Make sure to use the local network address and not the loopback address(loopback:127.0.0.1). It will typically be 192.168.x.x, however it could be something else depending on your local networks configuration.
- Make a note of this address as this is the address that will be used to remote into your server.
USE PUTTY TO REMOTE INTO SERVER
- You can use PuTTy down remote into the server on any host that is on the network, including the PC that is hosting the VM. If you don’t have putty installed you can get it here. The main benefit of using putty to remote into your sandbox server is you will be able to copy and paste commands.
- Open Putty:
- Enter the server IP address into the Host Name field:
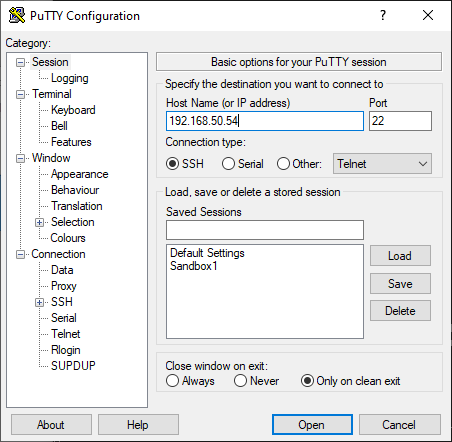
- Click Open
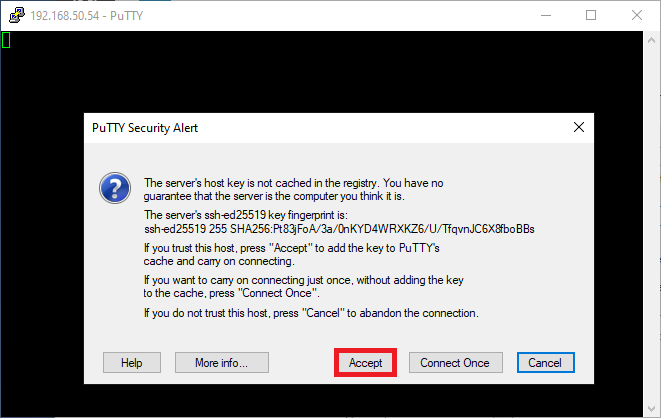
- A pop-up will appear, click Accept
- Login as: root
- Password: “your password”
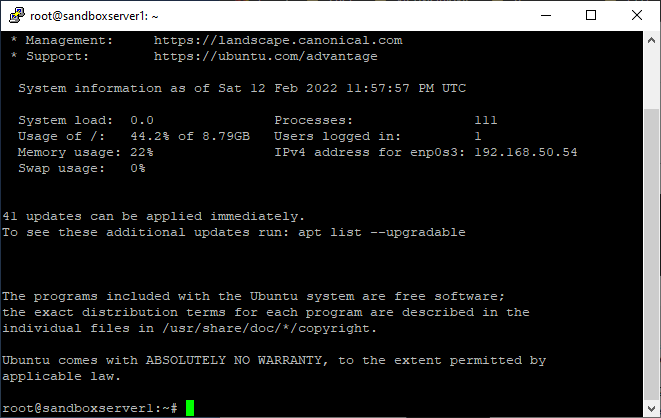
Upon successful login, you are now SSH’d into your server! Congrats! You can now use putty to configure your web server. Below is a suggested Ubuntu.com Tutorial on how to install WordPress onto your sandbox VM.
https://ubuntu.com/tutorials/install-and-configure-wordpress#1-overview
Alternatively, you can search for tutorials using a search engine for other Ubuntu web server configurations such as installing Apache and MySQL. At this point, the sky is the limit! Enjoy!